Terrible Lizards has four levels; you finish by recovering the Crew Lift Key and catching the final elevator. You progress through Dalton's Dinos, the underground mine, Allosaurus territory, and the Crew Lift route. You must read randomized codes yourself, restore power, and keep moving during chases.
Terrible Lizards walkthrough order: all four levels
You complete Levels 1–4 in order, resolving each area's power, key, or escape objective before moving deeper.
| Level and route | What you need to finish |
|---|---|
| 1 — Dalton's Dinos | Repair the theater, open the meteor route, power three Gift Shop floodlights, and escape underground. |
| 2 — Underground mine | Start two generators, repair the keypad, recover the gondola key, and detonate four charges. |
| 3 — Allosaurus territory | Power the train machinery, collect four replacement fuses, and reach the Motherlode. |
| 4 — Crew Lift route | Return DJ's tooth, restore special-spectrum lights, retrieve the lift key, and catch the elevator. |
Planning a session? Check the Terrible Lizards game length first.
Level 1 walkthrough: Dalton's Dinos
You leave Dalton's Dinos by repairing the Gift Shop floodlights and surviving the collapsing escape into the mine.
Enter the attraction and repair the theater
- Find Bob's Body Shop information at the gas station, then use the payphone to request a tow.
- Enter Dalton's Dinos and collect both torn entrance-code fragments around the skeleton displays.
- Search the Allosaurus hand and the base of the Brontosaurus skeleton for the pieces.
- Match the torn edges and inspect the assembled number in your Notes or Collectibles interface.
- Enter your own four-digit number at the admission keypad; this code changes between games.
- Take the token from the box office and use it to enter the theater.
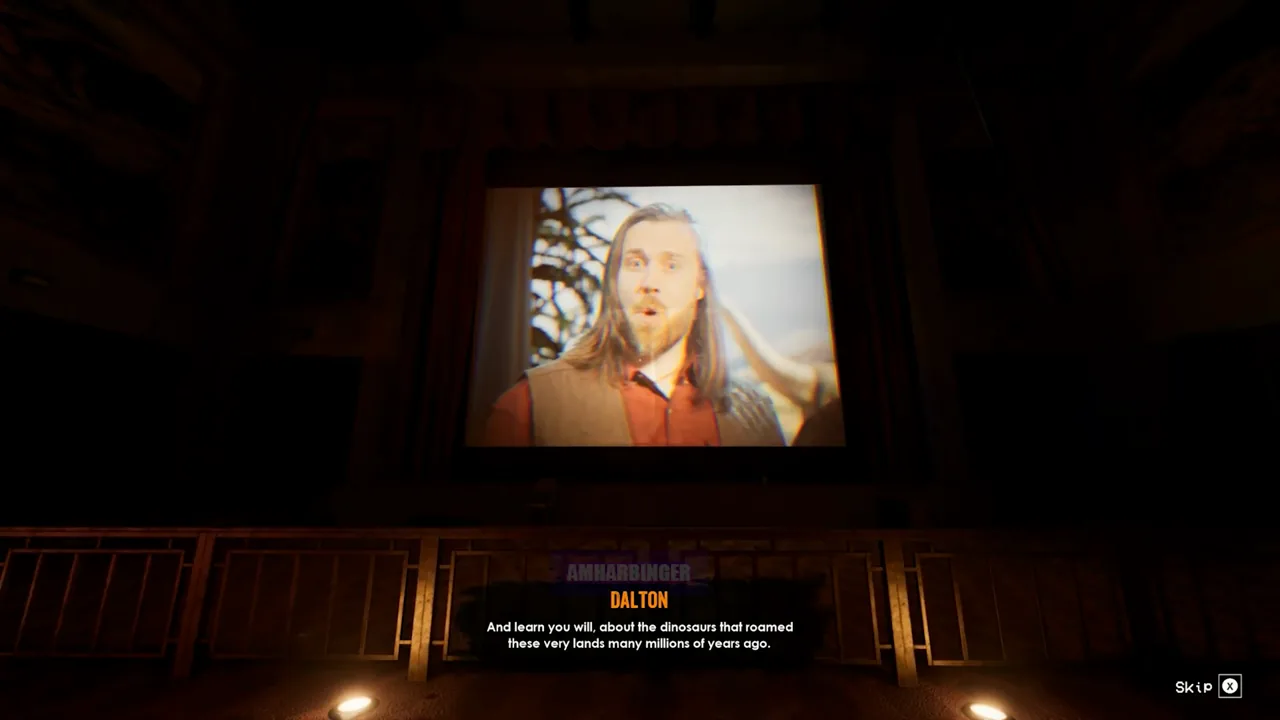
- After the presentation stops, enter the No Entry staff door and climb toward the upper technical room.
- Take the fuse and repair the fusebox beside the video player, timing your inputs with the indicator.
- Activate the separate video-player switch if the presentation has not restarted after the repair.
- Return downstairs, finish watching the presentation, and use the newly opened exhibition route.
Restore the exhibit gate and open the meteor route
- Cross the dinosaur structures and hanging poles until you reach the security room and its unpowered gate.
- Activate three elevated switches: the dinosaur display, the stage balcony, and the route above the security room.
- Return to the main lever and hold the interaction until the lever reaches its operating position.
- Take the headset near the radio so you can contact Stella.
- Keep above the electrified floor using platforms and pipes, then find the flashlight token on the upper route.
- Exchange the token at the flashlight dispenser before entering the dark attraction sections.
- At the blocked finale exit, find the missing control button upstage by the feeding exhibit.
- Use the elevated route and moving dinosaur displays to reach the spare button among the crates.
- Return, install the button, and start the finale to open the meteor hole at the back.
- Cross the raised structures, slide under obstructions, and jump through the opening before the sequence closes it.
- If you miss it, restart the show and repeat the crossing.
- Continue through backstage, escape Benji using the raised supports, and follow the route into the Gift Shop.
The finale runs for 55 seconds, so start moving once you activate it.
Find Dalton's recording and repair the floodlights
- Find Dalton's management office by the Gift Shop and play the recording marked Play Me.
- Contact Stella, then use 1903 at the Gift Shop basement keypad.
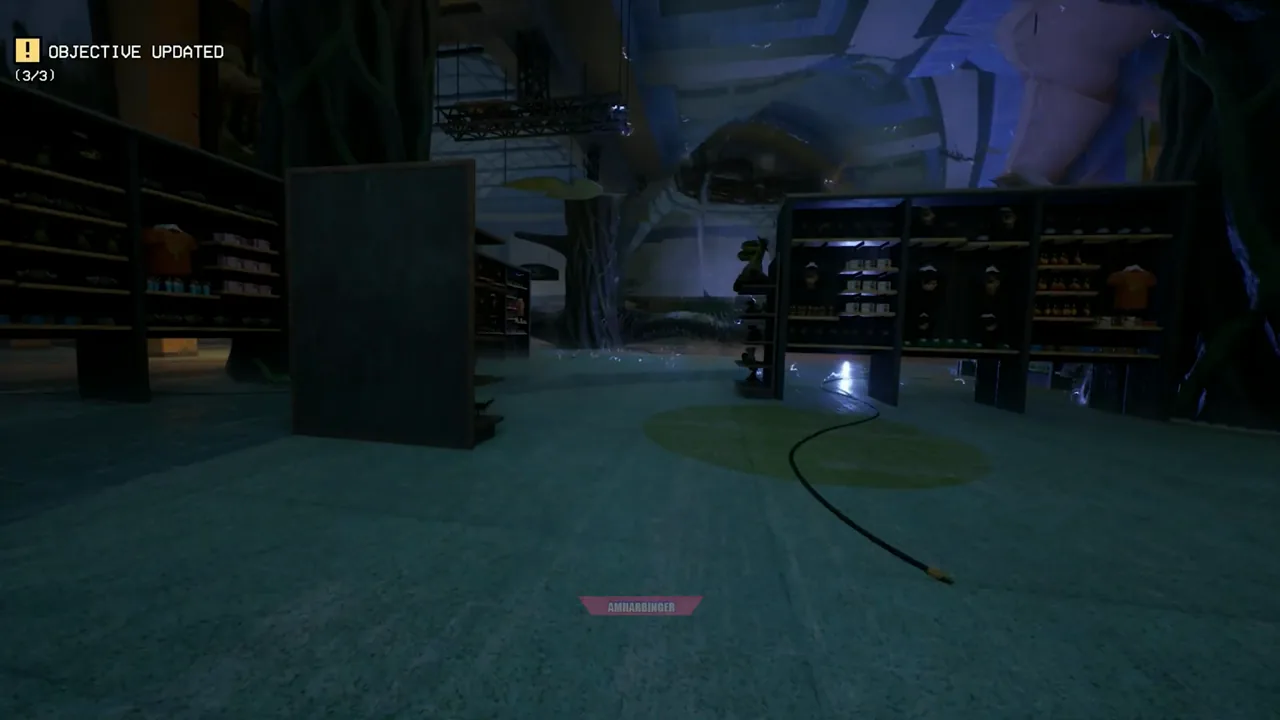
- Collect three fuses downstairs: one ahead, another farther left, and the third along the left-hand storage area.
- Return upstairs and install them near the office pillar, toy section, and arcade.
- Move around shelves and displays whenever Benji approaches; leave the panel before he reaches you.
- Enter Dalton's Arcade and use its vent and climbing route to reach the rafters.
- Complete all three overhead floodlight connections before returning toward the office.
- Activate the floor-level floodlight controls while avoiding the Brontosaurus.
- When the objective changes to escaping, head for the door marked EXIT.
- When the escape route breaks, turn back and follow the remaining platforms into the descending underground passages.
Fuses, overhead connections, and final light activation are three separate tasks.
Level 2 walkthrough: the underground mine
You finish the mine by placing four dynamite charges and using the blast plunger while avoiding the Brontosaurus.
Start both generators and repair the later keypad
- Contact Stella at the opening excavation; the first elevator cannot take you to the surface.
- Follow each power cable into its side cavern and start both generators.
- For timed doors, identify the crossing before pressing the button, then move through immediately.
- Return to the Foreman's Tower and enter 0451, including the leading zero.
- Press the red control to open the gate toward the Trailblazing Tunnels.
- Follow the platforms through the next chase and rockslide into the movable-equipment area.
- Lower hanging platforms and use the upper digsite route to find the replacement keypad component.
- Return to the damaged panel and repair it.
- Read the access code at the field laboratory workstation and enter your own displayed digits.
The field laboratory code changes between games; a copied four-digit combination is not a universal solution.
Separate the door switches from the emergency shutoffs
- Cross the balance beams with small corrections and follow the route toward the industrial door.
- Activate the three elevated sub-switches needed to operate that door.
- After the Brontosaurus damages the flooded worksite, contact Stella about the electrical hazard.
- Operate all three ground-level emergency shutoffs; these are separate from the earlier door switches.
- Use narrow passages and surrounding structures to move between controls without crossing directly in front of the dinosaur.
- Leave the electrical obstruction and climb through the movable-platform route to the next elevator landing.
- Enter 1677 at the elevator access control and continue through the available shaft route.
- Descend using the ledges, then install the nearby table's fuse in the lower fusebox.
- Follow the platforms and timed-door route onward to the padlocked chain-link fence.
Recover the gondola key and use the dynamite
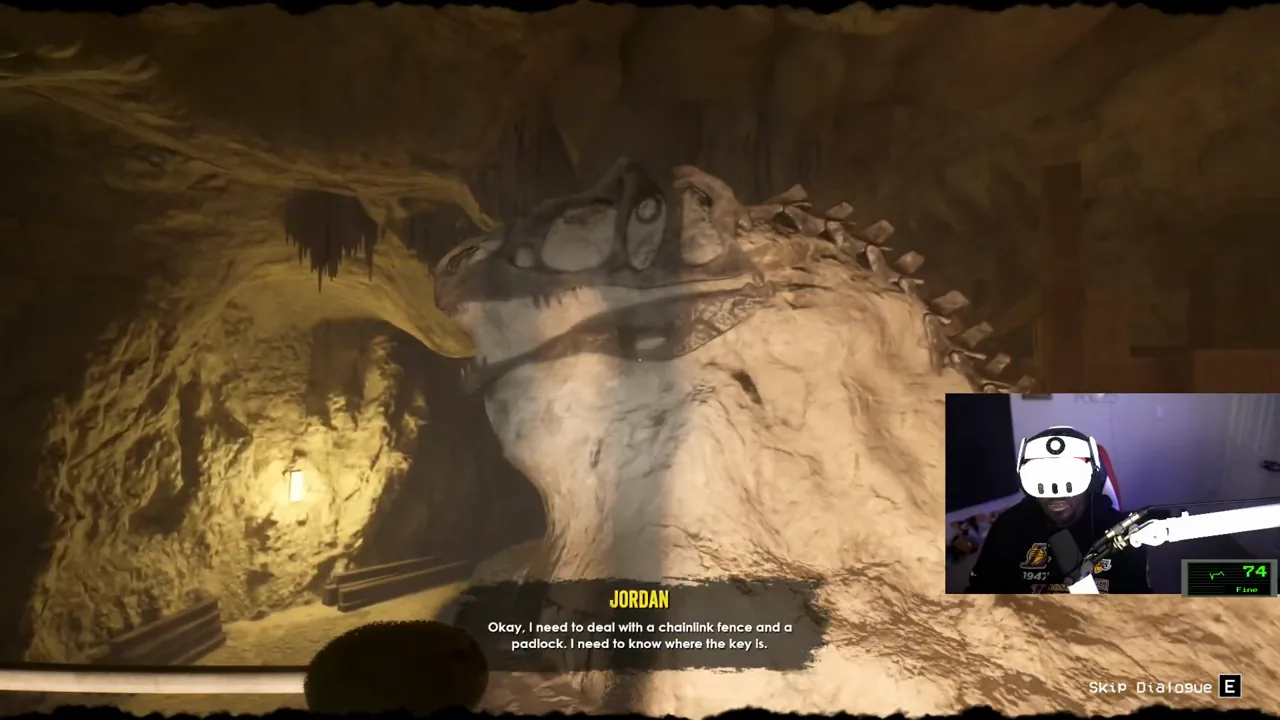
- Climb the central rock and upper ledges to reach the gondola suspended over the chasm.
- Take the spare key inside; collect it again if the encounter makes you drop it.
- Return by the available route and unlock the chain-link gate.
- Follow the next escape route to the Dynamite Locker and enter 0180.
- Place the explosive at the marked obstruction, then follow the red wire to the detonator.
- Continue through the opened passage and subsequent chase toward the final excavation.
- Collect three charges around the outer corridor and the fourth behind the central structure, beneath the lights.
- Place all four at the marked points, using red wires and warning lights to locate them.
- Return to the blast plunger beneath the lights and detonate the charges.
Level 3 walkthrough: all four fuses
You restore the train machinery, survive the Allosaurus, and install four fuses before continuing toward the Motherlode.
Power the trains and cross the freight platforms
- Follow the flooded digsite route and use yellow goo to bounce toward the upper platforms.
- Identify the next landing before jumping; some goo surfaces appear only after you press a nearby button.
- At the train worksite, climb to the raised control building and operate its exterior power lever.
- Activate the red machinery control inside, then retrieve dynamite from the newly accessible locker below.
- Place it at the blocked metal doorway and use the connected detonator.
- Start the generator beyond the blasted doorway, then return to the train controls and take the upper route.
- During the Allosaurus hunt, move between narrow passages and follow the route markings.
- If needed, face the Allosaurus briefly to interrupt its approach, then move as soon as it pauses.
- Follow the marked climb during the flooding escape and bounce back onto the elevated route.
- Jump onto adhesive walls with momentum, then jump away toward the next ledge or hanging bar.
- In the freight area, find the office key, unlock the work-area gate, and repair its fusebox.
- Start the yellow generator and use the red controls to reposition the suspended platform for each crossing.
- Continue through the shaft and past Dalton's belongings toward the large rail cavern.
Collect and install the four replacement fuses
- Enter the generator enclosure and collect the fuse from the illuminated green workbench.
- Start that generator before leaving the enclosure.
- Search the ground-floor office with broad windows for the second fuse.
- Find the wooden stairs near the Call It In sign and climb the bars, platforms, and adhesive walls.
- Take the Shed Key from the elevated cabinet before continuing along the upper route.
- Collect the third fuse in the upper wooden office, then descend toward the tracks.
- Unlock the wooden shed with the Shed Key and collect the fourth fuse from its illuminated workbench.
- Return to the central panel near the floodlights and install all four fuses.
- Confirm four green indicators, then operate the main control console to open the onward route.
Use sheltered gaps while the Allosaurus patrols; its brief pause never makes the open floor permanently safe.
Reach the Motherlode
- Follow the opened route through the elevated structures toward the Motherlode control building.
- Restore its local fuse and power connections; the earlier four-fuse repair does not complete this machinery.
- Operate the upper red control once power is ready.
- Follow the descending structures and goo-covered passages when the Allosaurus starts the final chase.
- Keep moving until you reach the deeper blue caverns and the pursuit ends.
Level 4 walkthrough: the final elevator
You must retrieve DJ's tooth, power the camp lights, recover the Crew Lift Key, and finish a timed upward chase.
Reach DJ and return the Allosaurus tooth
- Follow the glowing caverns to the expedition area and locate the lower counterweight control.
- Press its button to lower the goo into reach, then bounce toward the upper opening.
- Continue along adhesive walls and elevated passages toward the sound of DJ crying.
- Speak with DJ, then enter Dennis's lair and collect the Allosaurus tooth among the stolen belongings.
- During the resulting encounter, test the three old guns until you find one that fires.
- Use the working gun to complete the escape objective, then open the return route with the available control.
- Give DJ the tooth and follow the collapsing route when Dennis returns.
This gun sequence is a specific escape task; it does not introduce a continuing combat system. For the creature's role beyond this encounter, see Dennis.
Restore the special-spectrum lights
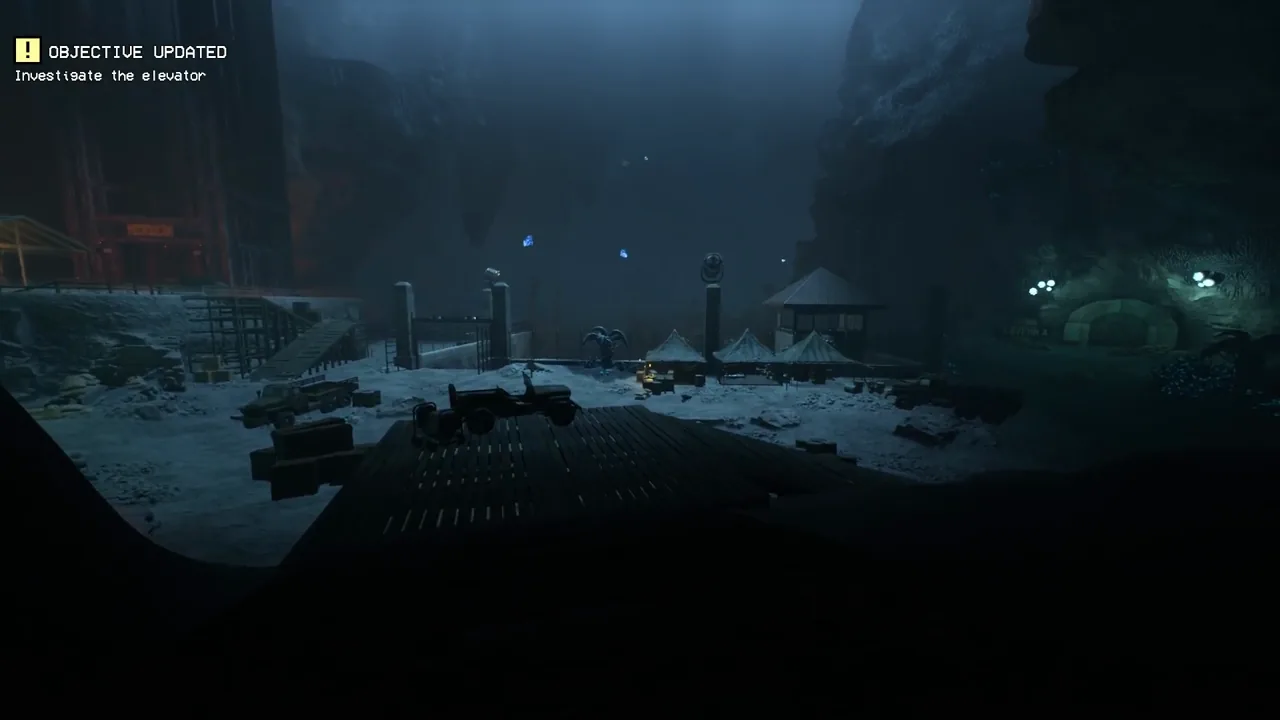
- At the expedition camp, leave DJ in the sheltered area while you restore the lighting system.
- Activate all three auxiliary switches around the camp structures, using platforms where necessary.
- Return to the main special-spectrum control and turn on the lights to repel Dennis.
- Return to DJ and establish why the Crew Lift still cannot operate.
The lights protect the camp, but you still need the lift's missing safety key.
Visit Cavern A, then recover the Crew Lift Key in Cavern B
- Follow the Cavern B signs until you find its blocked entrance and the notice directing you to Cavern A.
- Enter Cavern A and follow the climbing route to the dynamite stored at its back.
- Bring the charge to Cavern B, place it at the marked obstruction, and trigger the blast.
- Enter Cavern B and climb the broken scaffolding, adhesive surfaces, and suspended supports toward the high spire.
- Find the remains and belongings near the top, then take the Crew Lift Key.
- Follow the illuminated openings, wallruns, and bounce surfaces when Dennis interrupts your return.
- At the next blocked passage, collect another dynamite charge from the nearby worksite and tents.
- Blast this second obstruction; you do not need to revisit the original Cavern A storage.
- Follow the ladders and connected climbing route back to DJ and the Crew Lift.
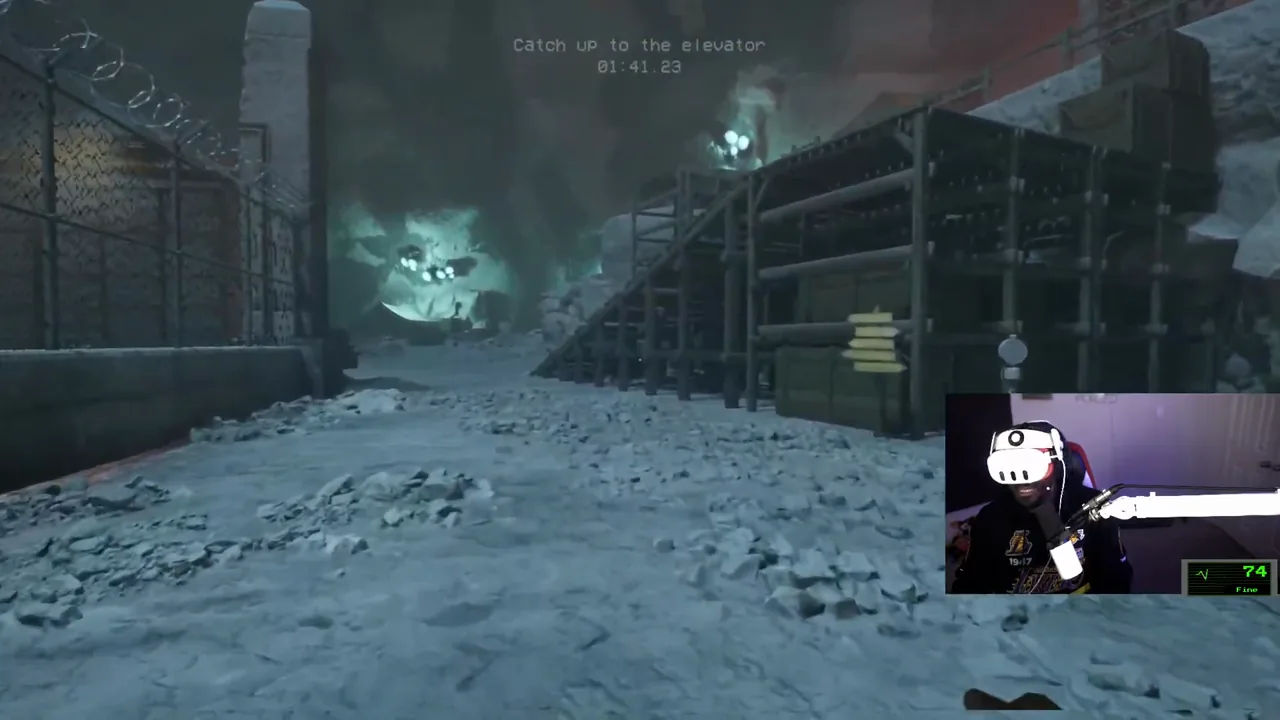
Catch the lift before the two-minute timer ends
- Speak with DJ, insert the Crew Lift Key, and start the elevator with him.
- When Dennis knocks you away during the ascent, immediately take the upward goo route.
- Chain bounce surfaces, wallruns, hanging supports, and ledges toward the rising elevator.
- Aim for each platform's upper surface; catching its bottom edge wastes time on another mantle.
- Keep climbing through the middle section instead of stopping to watch Dennis.
- Cross the last bounce surfaces and follow the available interaction sequence at the elevator.
- After the escape resolves, follow the remaining path and dialogue to finish the main story.
The two-minute limit starts during this final chase, after the lift begins ascending.
FAQ
You complete four main-story levels. Level 4 ends with the Crew Lift escape; there is no fifth main-story chapter.
Use 1903 for the Gift Shop basement and 0451 for Foreman's Tower. Use 1677 for elevator access and 0180 for the Dynamite Locker. Your entrance and field laboratory codes vary; read the torn note and laboratory workstation in your own game.
You must also complete all three overhead connections from the rafters, then activate the floor-level controls.
You find it in an elevated cabinet above the rail cavern. Start at the wooden stairs near the Call It In sign. Continue along the upper route for another fuse before descending to unlock the shed.
A verified no-commentary video is still being added. The written steps on this page cover every level without one.
You can return to any level through Level Select on the main menu.